
Last updated November 15, 2026
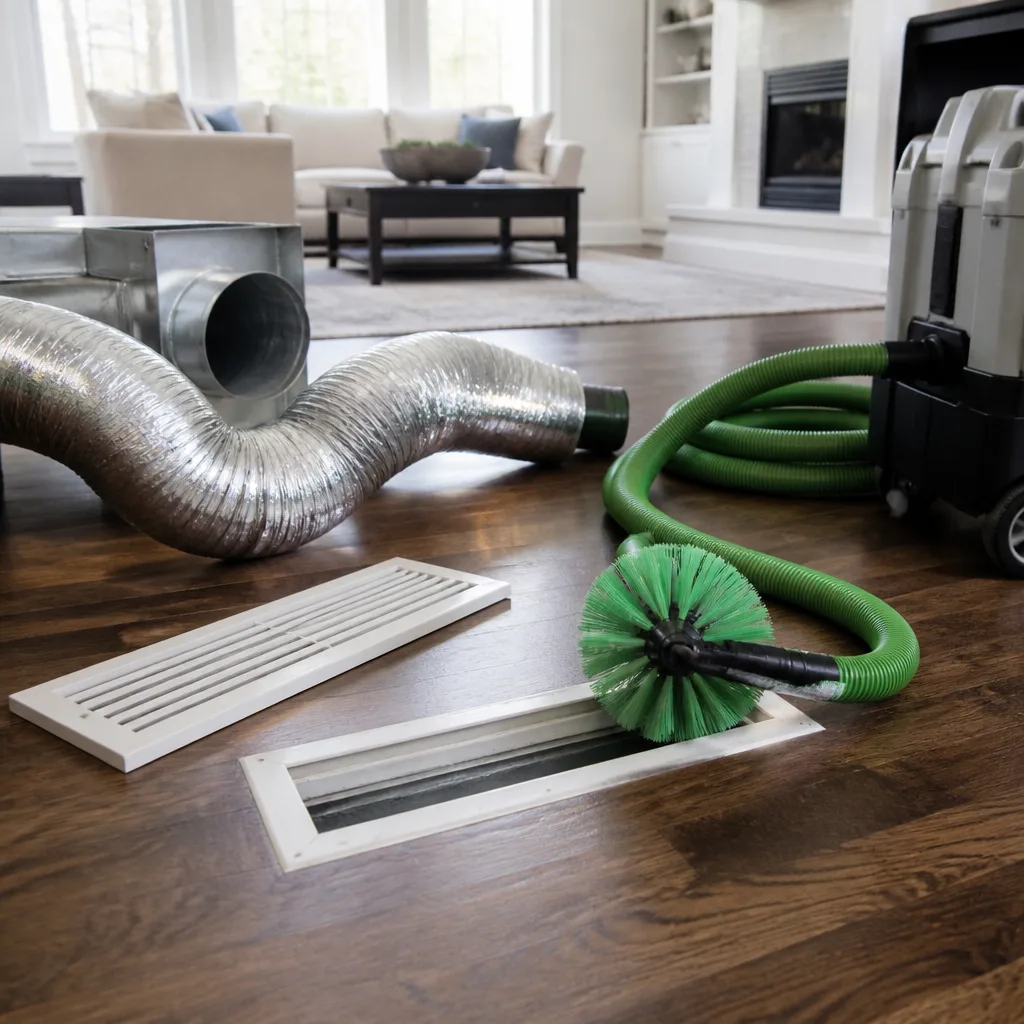 Whole-home duct cleaning
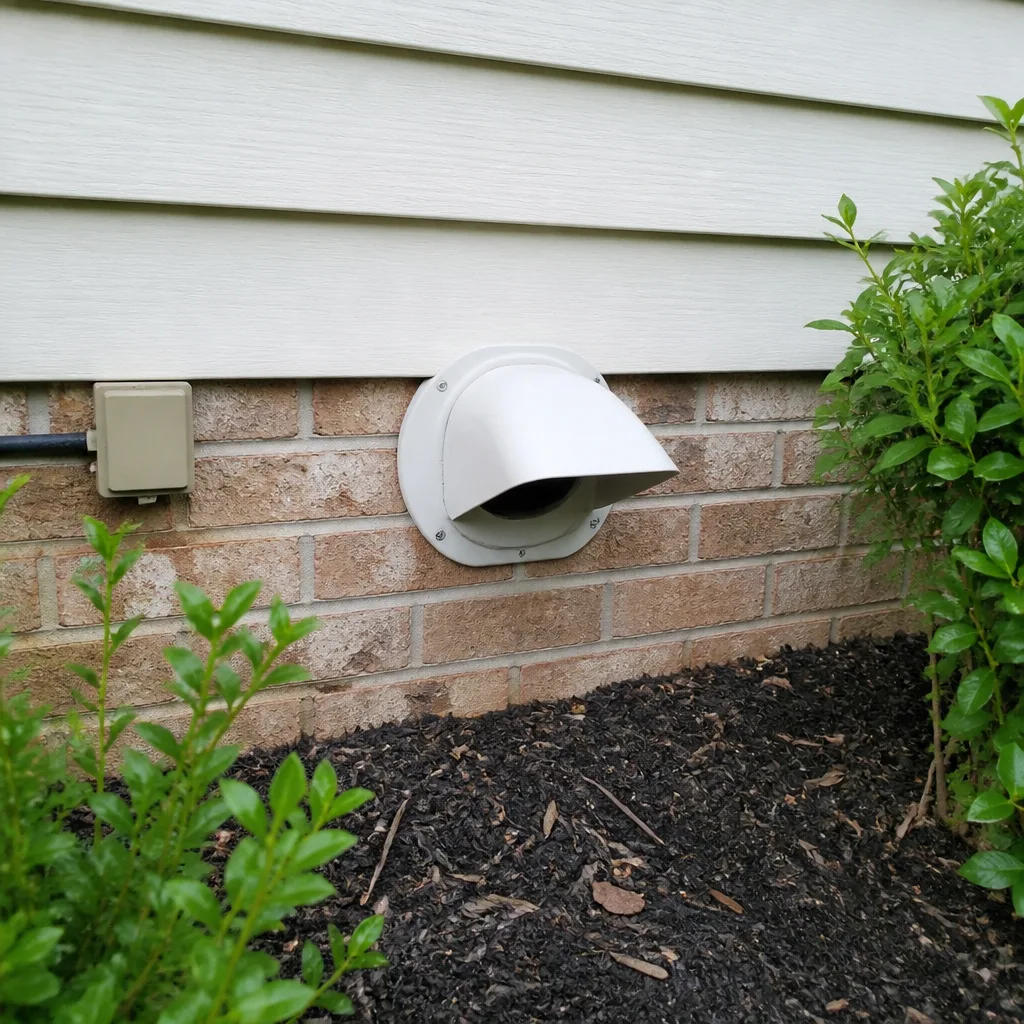 Dryer vent cleaning
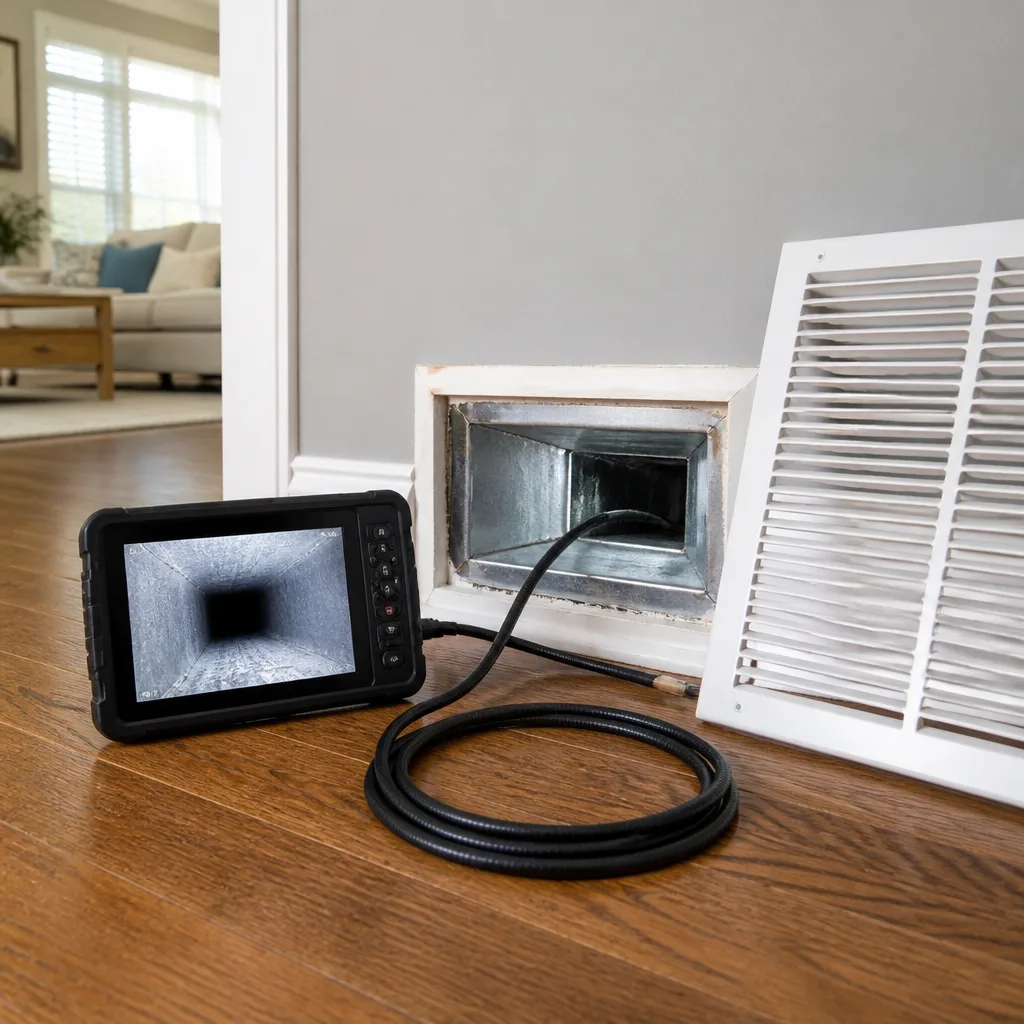 Camera inspection
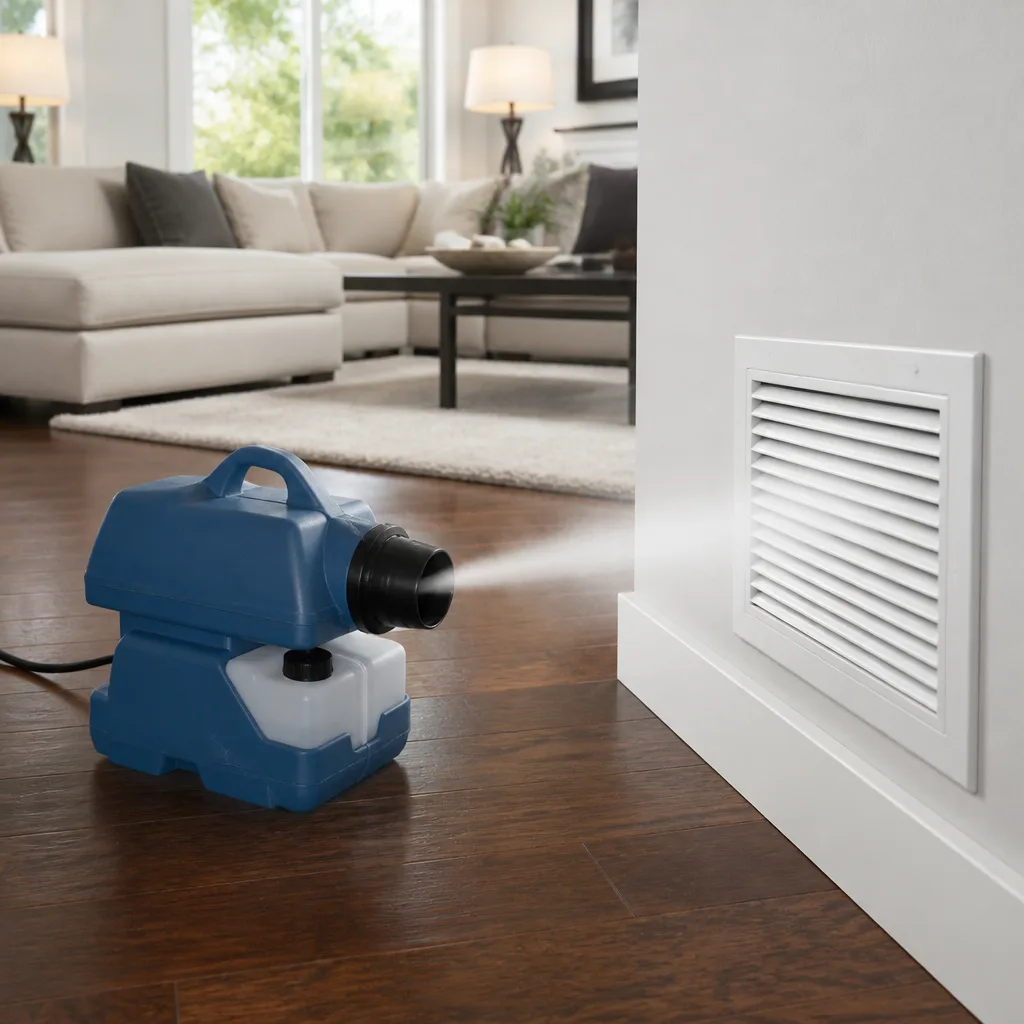 Sanitizing & deodorizing
Whole-system duct and dryer vent check with before-and-after photos - you see exactly what came out of your vents
That "$99 whole-house special" is a bait ad - the real number appears once they are in your hallway, or the "clean" is a shop-vac at the register. We photograph the inside of your ducts before and after instead.
Air Duct Cleaning Maintenance Checklist for Nashville Homeowners
The standard line is to swap your filter every 90 days, and in a lot of places that advice holds up. Nashville doesn’t cooperate. From January’s cedar run through the April and May pollen peak, a filter can load up in under a month, and a filter that’s choked stops screening anything. Debris that should have stopped at the grille gets pulled straight into the duct interior and settles on surfaces you can’t see from a ladder. What follows is a month-by-month checklist built around how Nashville’s seasons actually treat a duct system, how to read what your own registers are telling you, how to pick a filter for a home with pets or allergy concerns, and when to stop guessing and call in someone with the right equipment.
Quick Answer
Nashville homeowners should check filters monthly from January through May and every 6 to 8 weeks the rest of the year, book a professional duct inspection every 2 to 3 years on a normal schedule, and bring that inspection forward to within weeks after any drywall, flooring, or insulation project. A professional cleaning with contact equipment is usually warranted when a visual check at the registers shows liner damage, visible biofilm, or heavy debris that returns soon after a change.
Styles & brands we work with
- Whole-home duct cleaning
- Dryer vent cleaning
- Camera inspection
- Sanitizing & deodorizing
Table of Contents
- The Month-by-Month Duct Maintenance Calendar for Nashville
- How to Inspect Your Registers and Return Grilles Yourself
- Choosing a MERV Rating for Nashville Homes with Pets, Allergies, or Renovation History
- When to Log a Professional Inspection vs. Self-Manage
- The Post-Renovation Duct Checklist for Nashville Homes
- Summer Humidity and Post-Storm Debris: Two Problems Nashville Ducts Face Differently
- Why the Dryer Vent Belongs on This Checklist Too
The Month-by-Month Duct Maintenance Calendar for Nashville
Most duct care calendars are written generically, which means they miss the events that actually load a Nashville system. Cedar season lands in January and February, the spring pollen surge hits hard through April and May, summer humidity pushes the system into its heaviest run, and late-summer storms push fine outdoor debris in through every gap the system has. Here’s how to plan around it.
January through February: cedar season
Cedar pollen is fine and persistent, and it coats surfaces rather than dropping out of the airstream quickly. Check your filter at the start of January and again around the middle of February, not on a fixed 90-day clock. Look at the return grille fins for a gritty film. If you see one, you’re already behind.
March through May: the pollen peak
This is the stretch where a filter can fail inside 30 days. Check monthly. If your system runs continuously with windows open on mild days, cut that to every three weeks. If you’ve never had the ducts professionally inspected, this is the season to schedule it, because the backlog of pollen and fine debris in the supply runs is at its thickest.
June through August: humidity and cooling load
Air conditioning runs long cycles, which keeps fine particles suspended and moving. Moisture on the evaporator coil and in the plenum can support biofilm growth if drainage isn’t handled. Watch for musty odors right after the system starts, and note it in a maintenance log. That log becomes the evidence a professional uses to decide cleaning versus repair.
August through October: storm debris
Strong summer storms push airborne grit and organic debris toward the return intake, and crawlspace or attic vents allow fine material into the return chase. Look at the return filter after any major storm. If the filter is unusually loaded, replace it and book an inspection rather than assuming the system self-cleaned.
November through December: pre-winter reset
Before the heating season gets into full swing, do one full check: filter, register fins, visible flex duct where you can reach it, and the dryer vent. Heating season dries the air and increases static, which can pull dust off duct walls and into the air you’re breathing. A pre-season cleaning reset here makes the whole winter easier.
How to Inspect Your Registers and Return Grilles Yourself
You don’t need tools to do this. A flashlight and a phone camera get you most of what a professional sees in the first 30 seconds. The trick is knowing what you’re looking at. Do this inspection once a quarter, and photograph what you find so you can track changes over time.
Step-by-step homeowner visual inspection
- Turn the system off at the thermostat before you start.
- Remove each supply register cover and set it aside. Photograph the interior of the boot where the duct meets the wall or floor. You’re looking for dust coating, debris accumulation at the low point, and any visible cracks.
- Shine the flashlight up the supply boot. Fine gray dust that wipes off easily is normal. Dark, sticky, or patchy material is worth logging.
- Remove the return grille cover. The filter sits here (or in the air handler). Photograph the filter before you remove it.
- Inspect the return chase if accessible. In middle Tennessee homes, the return chase often runs through a chase or a crawlspace. If you can see the duct interior, look for standing debris, sagging flex duct, or separated joints.
- Use the phone camera to look past the register into the duct run. Take a photo, zoom in on the image, and note whether anything is peeling or separated.
- Reinstall covers and note your findings in a dated log.
What the specific indicators mean
- Black or dark-green patchy coating: possible biofilm, especially if there’s a musty smell near the register. Log it and call for a professional inspection.
- Flaky or peeling interior liner: fiberglass duct board doesn’t age gracefully. A compromised liner means fibers can enter the airstream. This is a repair question, not a cleaning question.
- Fine gray dust that reappears within a week: the ducts are reseeding the room. Normal dust takes weeks to show. Fast reappearance means the system itself is the source.
- Visible daylight or gaps at joints: flex duct joints slip and tape fails. That gap is a direct path for attic or crawlspace air into your living space.
- Sagging or collapsed flex duct: restricted airflow, which starves some rooms and overworks the system.
Choosing a MERV Rating for Nashville Homes with Pets, Allergies, or Renovation History
MERV ratings don’t have a universal answer, and the generic “MERV 8 is the sweet spot” line ignores both what’s in your home and what your system can handle. The supply-side filter in a Nashville home is a balancing act: higher filtration catches more, but it also increases airflow resistance, and that can starve a system sized for a lower-static filter. Here’s how to choose by situation.
Match the MERV to your home, not to the package label
- No pets, no allergies, no renovation in the past 12 months: MERV 8 is a reasonable baseline. It catches pollen, dust, and typical household particulates without overloading the return.
- Pets in the home: MERV 8 to 11. Pet dander is fine and sheds continuously, so mild filtration becomes important. Change every 30 to 45 days.
- Allergy or asthma concerns: MERV 11 to 13. Call ahead to your HVAC contractor if your system is older to confirm it’s rated for the higher static. A system rated for MERV 8 forced into MERV 13 can lose airflow and drive humidity issues.
- Recent renovation, drywall, or flooring work: MERV 11 to 13 during and immediately after, changed frequently, then step back to your baseline rating once dust has settled.
- Smoke or wildfire season concerns (rare but real in middle Tennessee): MERV 13 for the duration, then back to baseline.
How often to actually change the filter in Nashville
Change monthly through the spring pollen peak. Change every 6 to 8 weeks the rest of the year at baseline ratings. Change every 30 to 45 days if you have pets or a renovation in progress. If you can’t see light through the filter when you hold it up to a lamp, it’s overdue, regardless of the calendar.
The upgrade question
If you’re replacing a filter every month anyway, an inline media filter cabinet (we work with Honeywell and Aprilaire systems, among others) can be worth the conversation. Those systems hold more filter media and need servicing less often, which reduces human error during the peak pollen window. It’s a maintenance decision, not a sales pitch.
When to Log a Professional Inspection vs. Self-Manage
Self-management handles filters, visual checks, and minor register cleaning. It does not handle what’s happening 6 feet inside the supply trunk. The question isn’t whether to ever call a professional, it’s how to know when you’re at that threshold. Here’s how to split the work.
Self-manage these
- Filter changes on the schedule above.
- Register and grille cover cleaning (dust with a microfiber cloth or rinse in the sink).
- Quarterly photograph logs of supply and return interiors.
- Dryer vent lint trap cleaning after every load.
- Dryer vent exterior flap check (make sure the flap opens freely and isn’t blocked by lint or landscape debris).
Log for a professional inspection
- Any sign of biofilm or dark patchy growth on interior surfaces.
- Peeling, flaking, or separated duct liner.
- Flex duct joints that are visibly separated or taped over multiple times.
- Dust that reappears on surfaces within a few days of a full cleaning.
- Musty or stale odors from the registers when the system starts up.
- A renovation in the past 12 months (a professional cleaning is warranted within weeks, not months).
- Persistent allergy or asthma symptoms that improve when you’re away from home.
Baseline schedule
Even with a clean log, plan a professional inspection every 2 to 3 years. Homes with pets or allergy concerns should inspect every 2 years. Homes that have been through major renovation get an inspection within 30 days of the last walk-through, regardless of schedule.
The Post-Renovation Duct Checklist for Nashville Homes
A remodel in a Nashville home almost always means drywall dust, wood dust, and insulation fibers have found their way into the return system even with plastic sheeting and negative air machines running. Those particles are fine enough to bypass most filters, and they settle on the duct interior where they can remain for years. The American Lung Association and indoor air quality professionals consistently flag post-renovation duct cleaning as one of the highest-value air quality moves a homeowner can make. Here’s the checklist.
Post-renovation steps
- Wait until the very last walk-through is done and all trades are off site. Cleaning before final punch list means a re-contamination.
- Change the air filter at the air handler and at every return grille that has one. Do this before the first full system run.
- Run the system for 10 minutes with all registers open and windows open, then shut it down. This pulls the loose debris into the filter path.
- Change the filters again. If the filter is more than half loaded after that 10-minute run, you have significant debris inside the system.
- Book a professional duct cleaning. Look for a company that uses contact cleaning equipment (Rotobrush, Nikro) rather than only negative-air machines. Negative air alone pulls loose material out but doesn’t dislodge what’s adhered to duct walls.
- Insist on before-and-after photographs of your own duct interior. It’s the only way to verify the work.
- Consider an Abatement Technologies HEPA filtration pass if drywall was involved. That’s remediation-grade filtration and catches the fine particles general cleaning leaves behind.
- Do a follow-up filter change 30 days after cleaning. Post-cleaning dust is normal and clears within one filter cycle.
Summer Humidity and Post-Storm Debris: Two Problems Nashville Ducts Face Differently
Humidity and storm debris are the two issues that most generic duct checklists get wrong because they treat them as seasonal annoyances rather than system-level problems. In Nashville, summer humidity runs high enough to matter, and late-summer storms push fine grit into the return path in ways that interior climates don’t see.
Summer humidity and biofilm risk
Condensation on the evaporator coil and in the plenum creates a moist environment where airborne dust and organic particles can settle and hold. If you notice a musty smell when the system first starts in July, that’s the signal. A visual inspection of the air handler drain pan, and a check of the coil for visible growth, are the right next steps. Biofilm inside the duct run itself needs professional remediation-grade equipment. General-purpose home vacuums don’t cut it.
Post-storm debris
After a major summer storm, fine outdoor debris and organic material land on the exterior intake and the return path. That debris moves into the return chase and can lodge in flex duct elbows where it stays. Post-storm checklist: check the return filter within 48 hours, replace if loaded, and check the return boot interior on the lowest floor of the home, which is where gravity deposits whatever comes in.
Duct integrity as the underlying issue
Both problems are worse when the system leaks. A flex duct joint that’s separated underneath a Nashville floor or in an attic chase is a direct path for humid outdoor air and storm debris into the conditioned space. Duct repair is a legitimate air-quality fix, not just a comfort fix. If a visual check finds gaps or sagging, repair should come before cleaning.
For homeowners who haven’t had a professional assessment of their duct integrity, our air duct cleaning visits include an inspection of what’s reachable and a written record of what’s found. If repair is needed, we handle that in the same visit rather than handing it off.
Why the Dryer Vent Belongs on This Checklist Too
Dryer vents are the other half of the ventilation system most homeowners never think about, and lint buildup inside the vent run is one of the leading causes of residential fires. The U.S. Fire Administration attributes thousands of home fires each year to dryer vent issues, and Nashville homes with long vent runs or flexible transition ducts are particularly exposed because lint collects at every turn.
DIY dryer vent tasks
- Clean the lint trap before every load, not after.
- Inspect the exterior flap monthly. It should open freely and close completely when the dryer runs and stops.
- Check for lint accumulation behind the dryer every 3 months. Pull the dryer out, look at the wall vent opening, and clear any visible lint with a vacuum.
- Confirm your vent run isn’t crushed or kinked. Flexible foil or vinyl transition ducts sag and trap lint.
When to book professional dryer vent cleaning
- The exterior flap doesn’t open freely or doesn’t have visible airflow when the dryer runs.
- Clothes take longer than usual to dry, or come out unusually hot.
- You notice a burning smell during the dry cycle.
- It’s been more than 12 months since the vent was professionally cleaned (more often for large households).
We offer dryer vent cleaning as a standalone service, and most of our clients bundle it with the duct work because the two share a Tuesday morning rather than two separate visits.
Common Mistakes to Avoid
- Treating 90 days as a universal filter interval. In Nashville, that’s wrong from January through May, and wrong year-round for homes with pets. Check monthly through the spring peak.
- Assuming a visual check from the floor is enough. You have to remove the register covers and photograph the interior. What’s visible from the floor tells you almost nothing about biofilm or liner damage.
- Installing the highest MERV you can find. A filter your system isn’t rated for restricts airflow, drives humidity problems, and starves downstream rooms. Match the MERV to the system, not the marketing.
- Skipping the post-renovation cleaning. Drywall dust lodges in duct interiors and stays for years. The first filter change after the last walk-through is not a substitute for contact cleaning.
- Using a shop vac on duct interiors. Consumer vacuums stir up what you’re trying to remove and can damage flexible liner. The right tools (Rotobrush, Nikro) are what separate real cleaning from a surface pass.
- Ignoring the dryer vent until it fails. By the time the dryer takes two cycles to dry a load, lint is already packed in the run. Clean the vent on a schedule, not on symptoms.
- Believing a low-ball estimate is a bargain. A quote that seems well under the others often means a surface vacuum with consumer equipment and no before-and-after photos. Ask what tools they’re using and whether the duct interior will be photographed.
See the difference
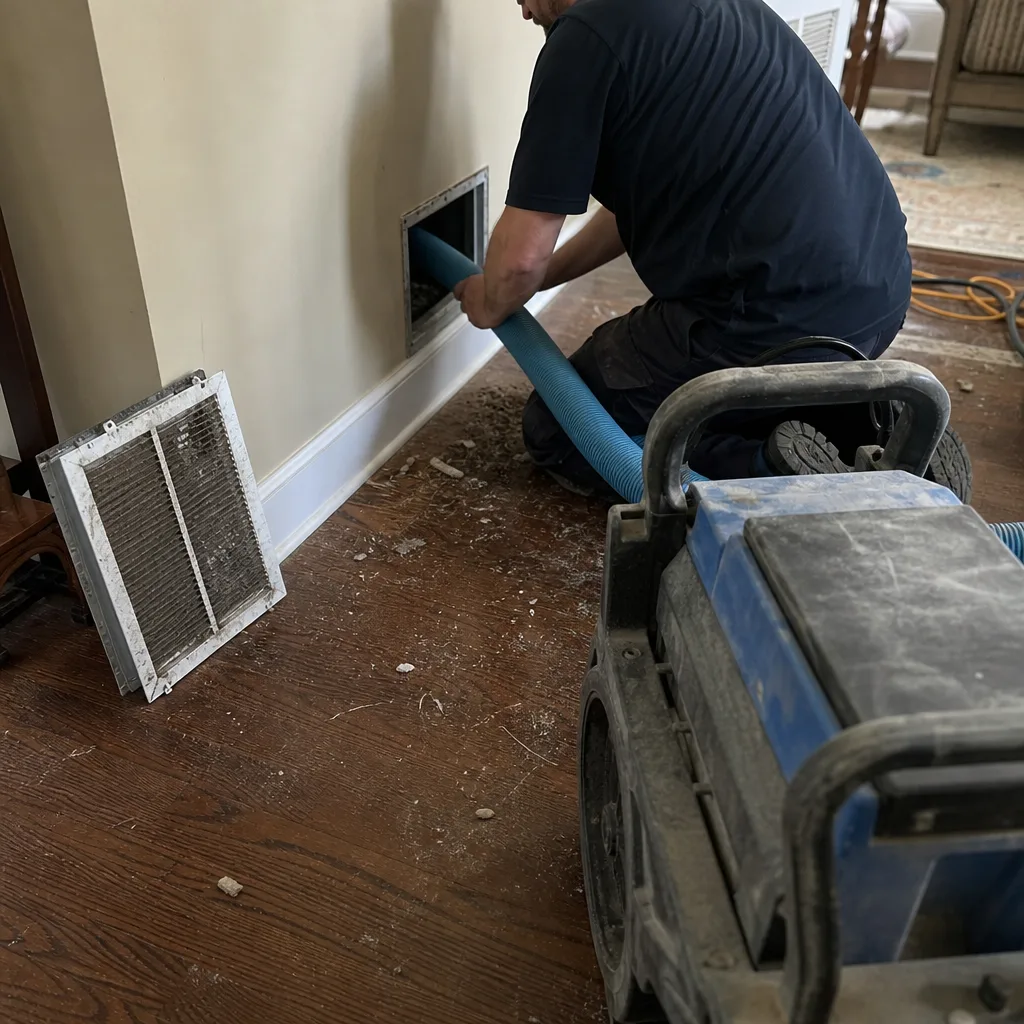 Before
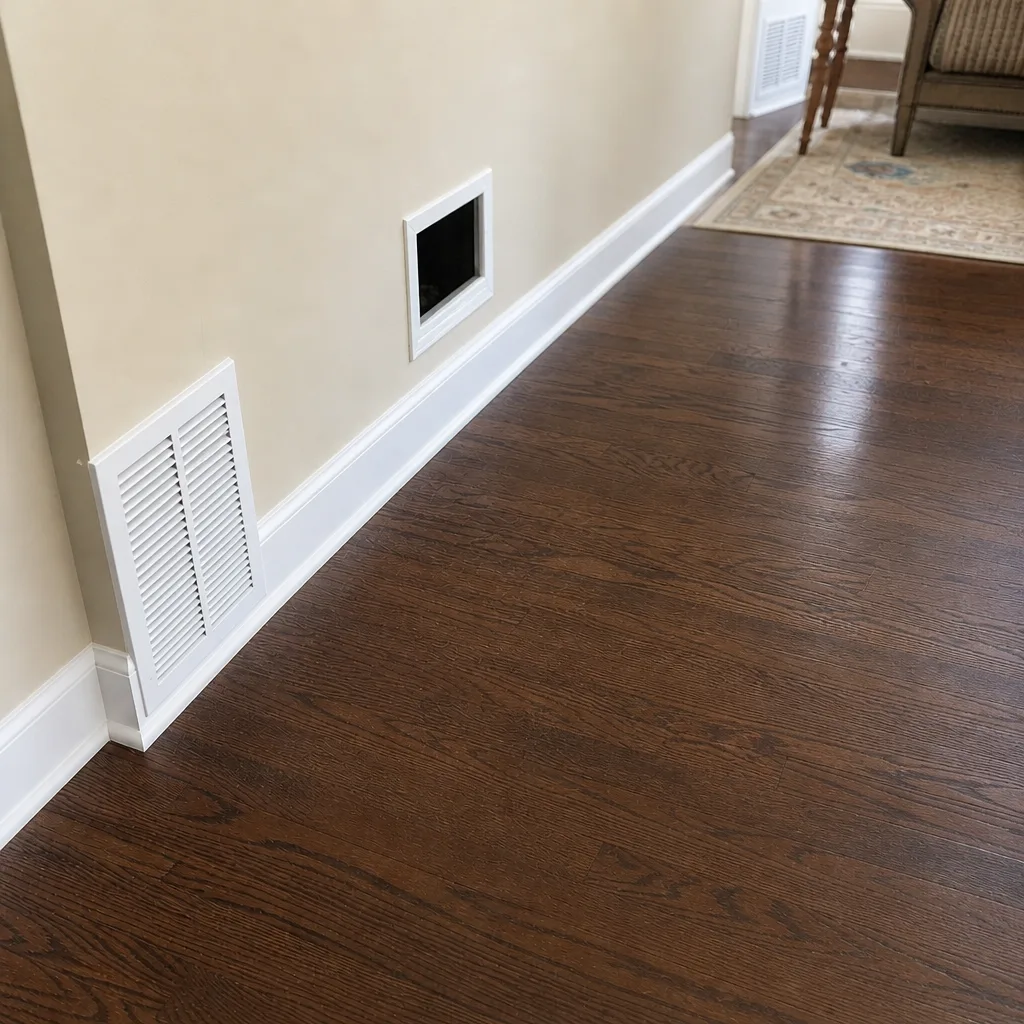 After
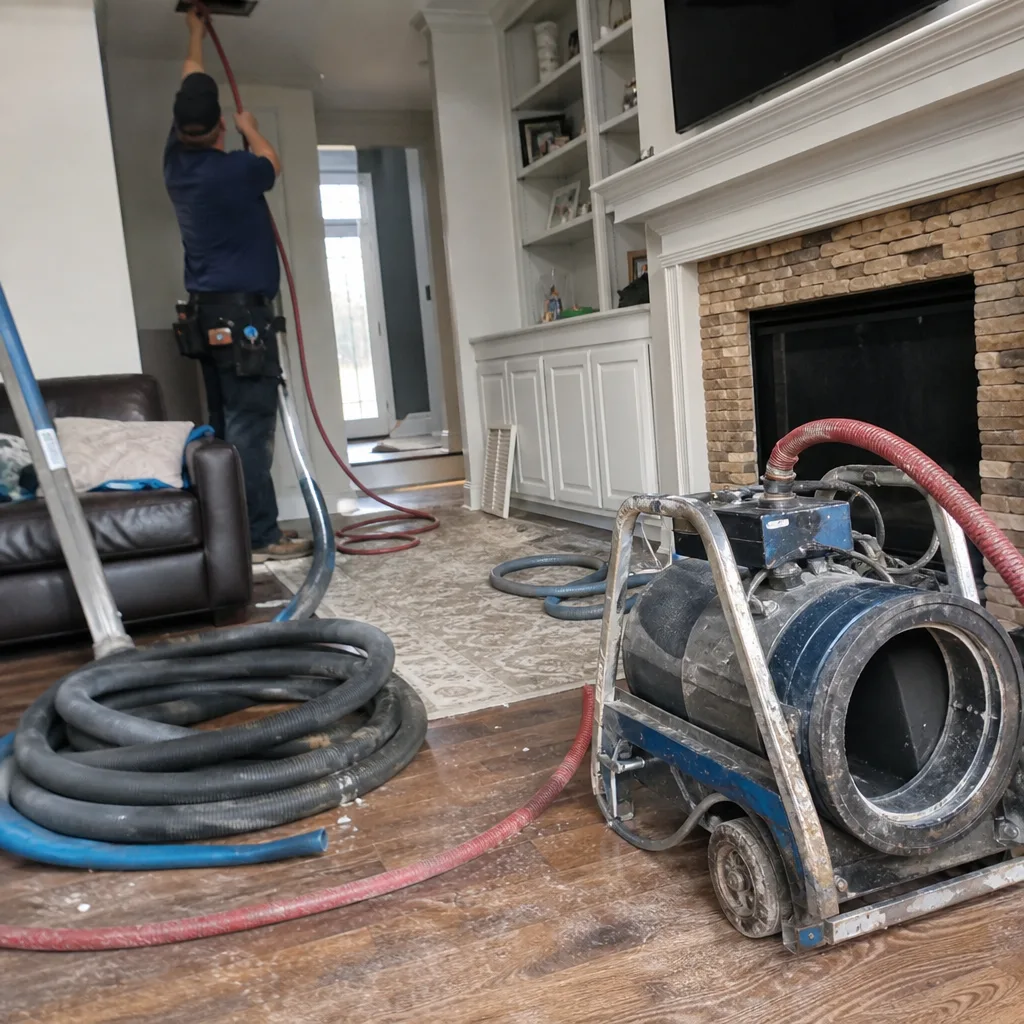 Before
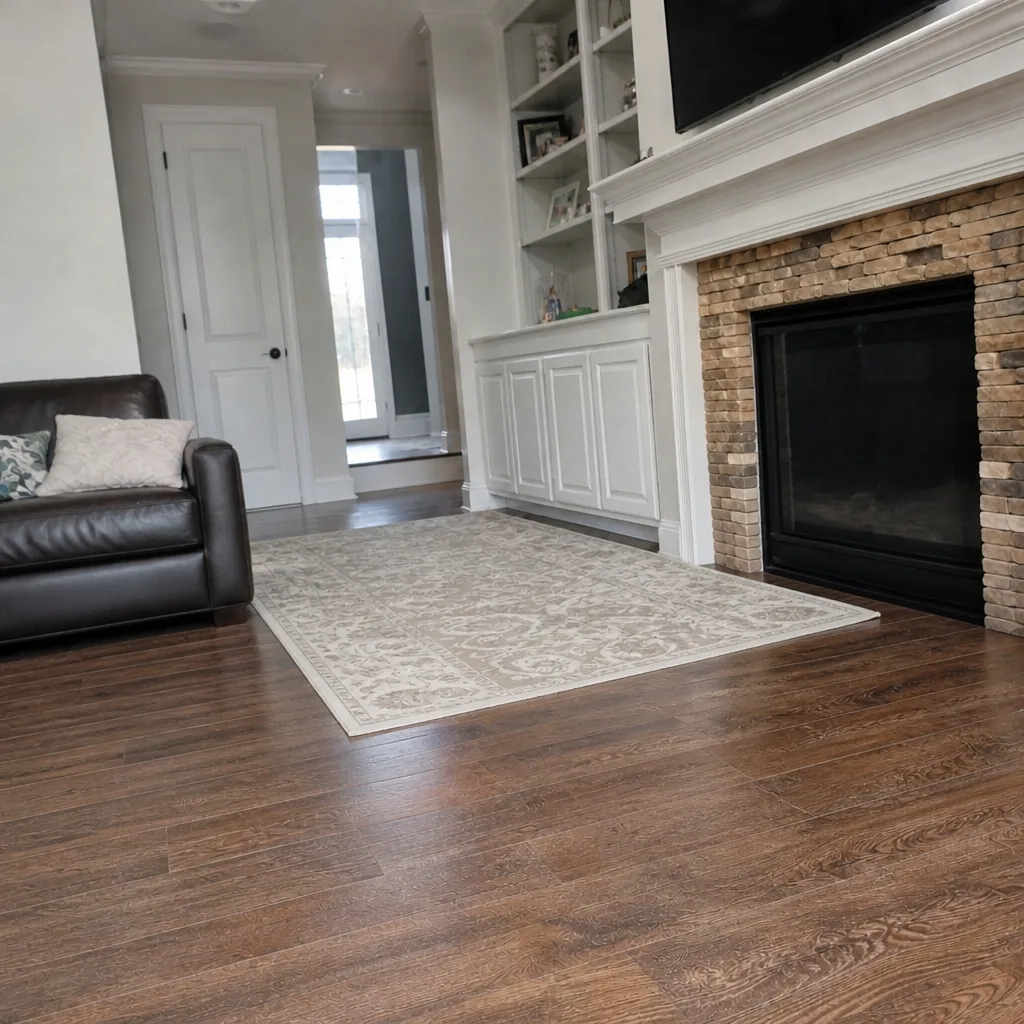 After
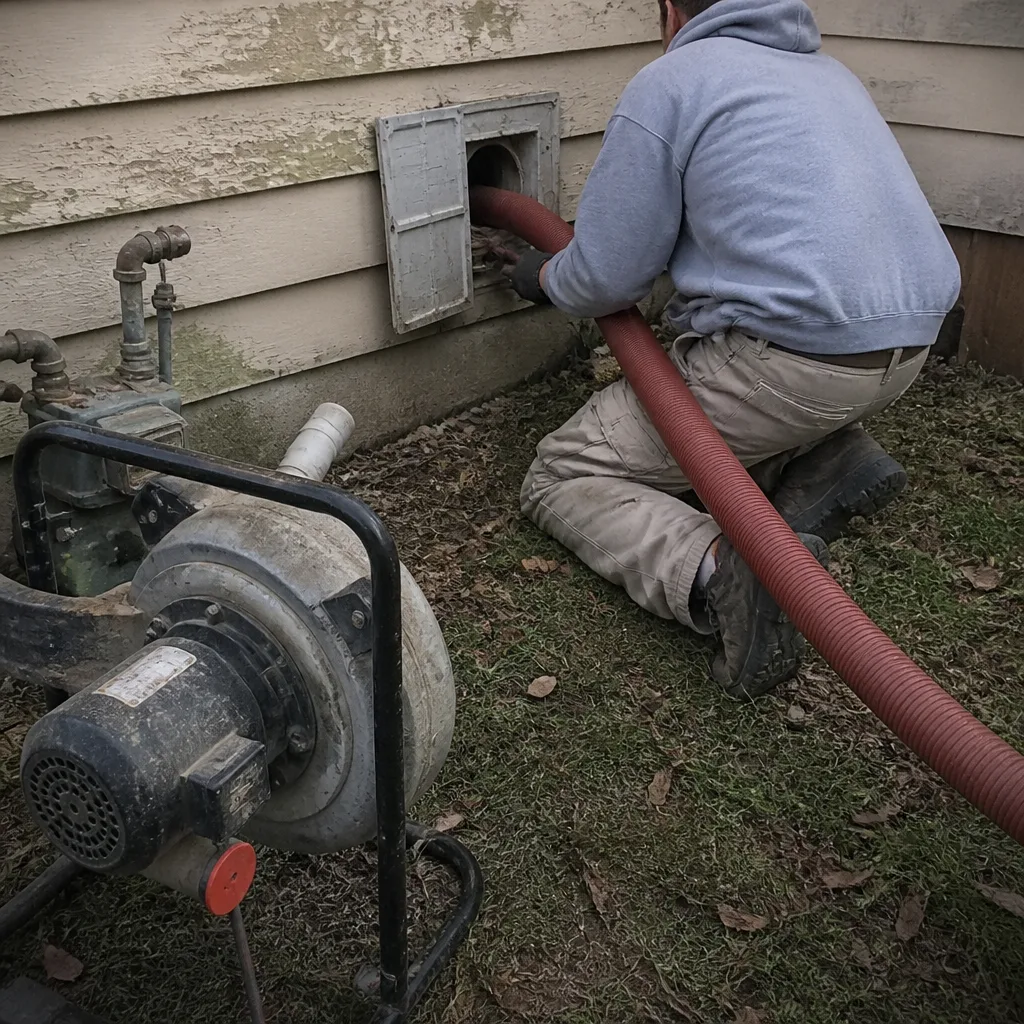 Before
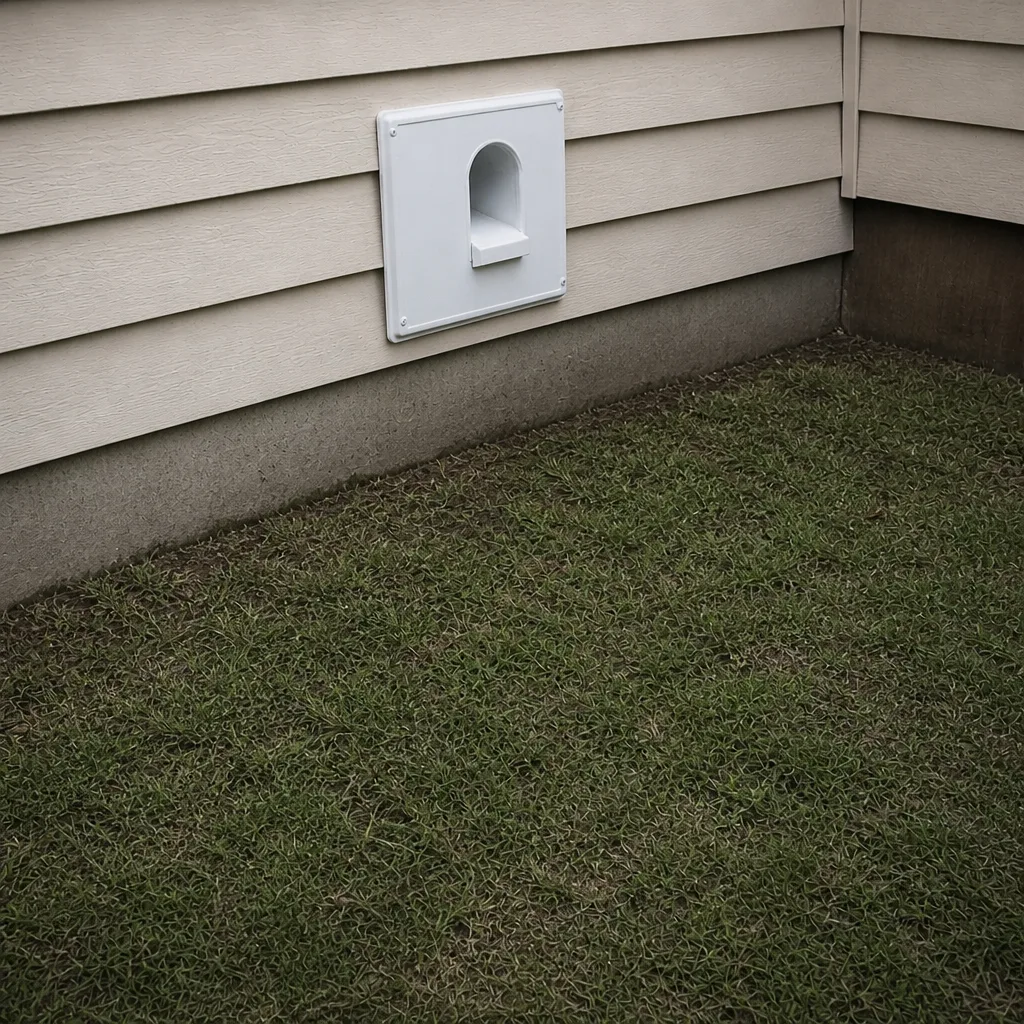 After
When to Call a Professional
Call when any of the following is true: your visual inspection finds biofilm or dark patchy growth, liner damage, or separated flex duct joints; a renovation was completed in the past 12 months; dust reappears within days of a full surface cleaning; allergy or asthma symptoms improve noticeably when you’re away from home; the dryer vent hasn’t been cleaned in more than a year or shows reduced airflow; you’ve never had the ducts professionally inspected and the home is more than 5 years old. Duct Cleaning Nashville offers free estimates in Nashville, and our technicians have up to 9 years of experience. Call (855) 473-8488. We answer 24/7, with fast dispatch from 7am to 7pm, Sunday through Friday.
Frequently Asked Questions
Every 2 to 3 years for a typical home, every 2 years for homes with pets or allergy concerns, and within 30 days of any major renovation. Nashville’s spring pollen peak pushes more fine debris into the system than most inland climates, so many homeowners find a 3-year cycle working well with monthly filter changes through the spring and a professional inspection in between.
MERV 8 with no pets or allergies and no recent renovation, MERV 11 with pets, MERV 11 to 13 with allergy or asthma concerns, and MERV 11 to 13 during and immediately after a renovation before stepping back to baseline. Confirm with your HVAC contractor that your system is rated for MERV 11 or higher before moving up.
Three reliable signs: (1) dark patchy growth or biofilm visible inside the register boot, (2) dust that returns within days of a surface cleaning, and (3) musty odors at system start-up. Any one of the three is worth a professional inspection. Photographs from your own inspection log make that conversation far more productive. Call (855) 473-8488 for a free estimate.
Yes, in most cases. Drywall dust, wood dust, and insulation fibers bypass most filters and lodge in the duct interior where they can remain for years. Contact cleaning with equipment like Rotobrush or Nikro dislodges what’s adhered to duct walls, which negative-air machines alone cannot do. Homes with occupants who have respiratory sensitivities benefit most.
It can help when the ducts are the source of the problem, which the visual inspection will confirm. Duct cleaning removes accumulated pollen, dust, and debris that re-enter the airstream every time the system runs. For homeowners with confirmed allergies, the spring pollen peak is the season when the effect is most noticeable.
A typical Nashville home with 2,000 to 3,000 square feet of conditioned space takes 3 to 5 hours with contact cleaning equipment, depending on how many register runs there are and whether repair work is needed. Larger homes and homes with significant debris accumulation take longer. Duct repair found during cleaning adds 1 to 3 hours depending on scope.
The equipment and the level of access. Cheap cleaning usually means a shop vac and a surface pass on what the technician can see from the register opening. Professional cleaning uses contact tools like Rotobrush and Nikro to scrub the duct interior, plus HEPA filtration equipment like the Abatement Technologies units used in remediation work. Ask any provider what tools they’ll use and whether they photograph the interiors before and after. If the answer is vague, that’s your answer.
Yes. Dryer vent lint buildup is a leading cause of residential fires, and the vent run collects lint year-round regardless of whether your ducts need cleaning. Annual dryer vent cleaning is standard for most households and every 6 to 9 months for large families or homes with long vent runs. We handle Duct Cleaning Nashville services across all three lines (duct cleaning, dryer vent cleaning, and duct repair), which means one call and one accountable point of contact for everything.
The Bottom Line
A duct maintenance checklist that works in Nashville has to be tied to Nashville’s seasons: monthly filter checks January through May, a pre-winter inspection, quarterly visual inspections with photographs, MERV rated to your specific home rather than the label on the box, and a post-renovation cleaning within 30 days of the last walk-through. Plan professional inspections every 2 to 3 years, and bring that forward whenever the visual indicators say so. The dryer vent belongs on the same calendar. Duct integrity matters as much as cleaning, since a separated flex duct joint undoes everything else. If you want one team to inspect, clean, and repair, we can help. Call (855) 473-8488 for a free estimate. We answer 24/7, fast dispatch from 7am to 7pm, Sunday through Friday.
Written by the team at Duct Cleaning Nashville.